
Well there is so much to say, so much to share, where to begin…?
Exciting news is that Mindy Tsonas invited me to be a guide for her next Inner Alchemy class: Wishcraft: Creating the Tarot.
These are the cards I made in Inner Alchemy: Water class. SOoo fun!
Woot!!! I am over the moon thrilled and will share more in the next week or so. It would be so fabulous if you would consider joining the class.
As I mentioned in my last post, my Bali retreat was canceled (such a big bummer) at the last minute but I ended up going with the Mr. It was fun, super duper hot and humid, stunningly beautiful, sometimes relaxing and quiet an adventure. I thought I’d share some pictures with you.
Pool side (that didn’t suck)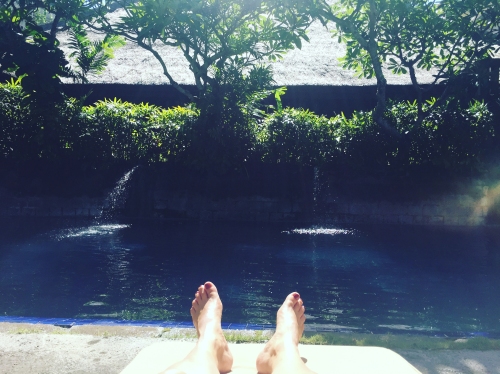 Lush and oh so green.
 We did a culinary tour and made a trip to the local market.
  Bustling and so colorful
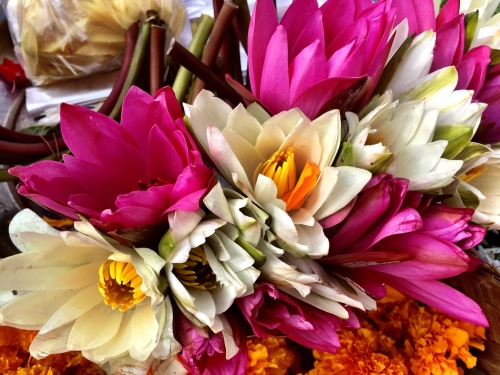
We stayed with a friend in Hong Kong, which I wasn’t expecting to love, but it turned out to be the highlight of the trip.
View of the harbor from Peter’s rooftop garden, WOW. Hong Kong’s an interesting contrast between shiny new, ultra modern and very old school.
 When you go to the market to buy chicken to make for dinner you choose from live chickens not chicken meat packaged in styrofoam with cellophane wrapping. I think many Americans have no idea that the meat they buy in the store actually comes from animals that were once living beings. This seem a much more honest way to sell meat.
 I never had any interest in visiting Asia, this trip changed that, I will definitely go back to explore. I loved meeting people whose lives are so very different from my middle class Californian existence, and yet the same in many ways as well. We are all humans with the same human history, we’re all here together sharing this beautiful planet whether we believe it and whether we like it or not. We’re connected in more ways than we’re separate. Knowing this makes our current US situation that much more heartbreaking.
Personally, and I know I’m not alone, I was devastated by the results of the US election. While intellectually I knew this outcome was a real possibility, emotionally I just wasn’t, am not, prepared to accept it. There is so much I could say on this subject and there are conversations that need to be had, but this is a sacred space for me and I’m not ready to take that plunge into political discourse here just yet. (The time will come soon as I begin to share what I’m learning about the history of the Goddess, more will be revealed soon)
What I will say is that traveling to the other side of the globe reinforced my knowing that we are one people and that we should be coming together not polarizing even more. I always land on my feet and I have the hope that we will collectively land on our feet so to speak. Rise up, wake up, and take the actions that are required to bring about the changes that will benefit us all, and I mean all, humans, animals, plants and our beautiful Mother Earth.
Sharing:
Art of Sacred Living is moving along at a snails pace, but progress is being made. In collaboration with Jen Davis from Peach Tree Pottery, I’m creating a beautiful line of teapots and bowls.
I tried this beauty out yesterday, serving tea to my beloved friend and tea mentor.  The wood handle is driftwood that I collected last summer from my happy place, Whidbey Island.
I’ve been working like crazy on my alter project and will soon (finally) have some finished pieces. I would really love to have a gallery show in 2017… Let’s see if I can make that happen. I’m thinking YES. Ready to paint and decorate. I can’t wait to see how they turn out.
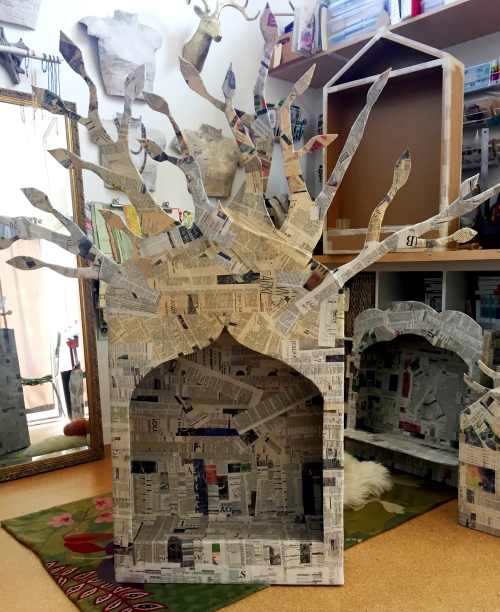
Finally, if I can birth the new Art of Sacred Living website by the end of the year (sooner would be better) I will be thrilled! I am never at a loss for ideas and I work tirelessly on my projects, but I struggle with completion.
I will finish my website, I will finish my website, I will finish my website. There that should do it 🙂
More will be revealed so I hope you check back soon.
Bright blessings,


